In easy terms, I will tell you why you want to use a special/different soil for your transplants. Think of things in terms of a baby. A baby nurses or drinks formula. Once they are old enough, they get solid food. Same thing with plants! Seeds need a nourishing soil for seeds, and once they are old enough, they will need something with more nutrients in it to keep bursting them forward in their growth.
I have heard so many times people say, “I just throw my seeds in and see what happens!:. Occasionally, I hear they did well, however more often than not, I hear they just don’t have a green thumb. This has NOTHING to do with the colour of your thumb! (pause for laughter!) It has everything to do with what you are feeding your plants and how they are cared for.
Ok, seriously though… soil… make sure you have a soil that is suitable for transplants. I have some links below, and in the video, I talk about making your own soil if you prefer, along with a simple recipe that can be adapted as you need.
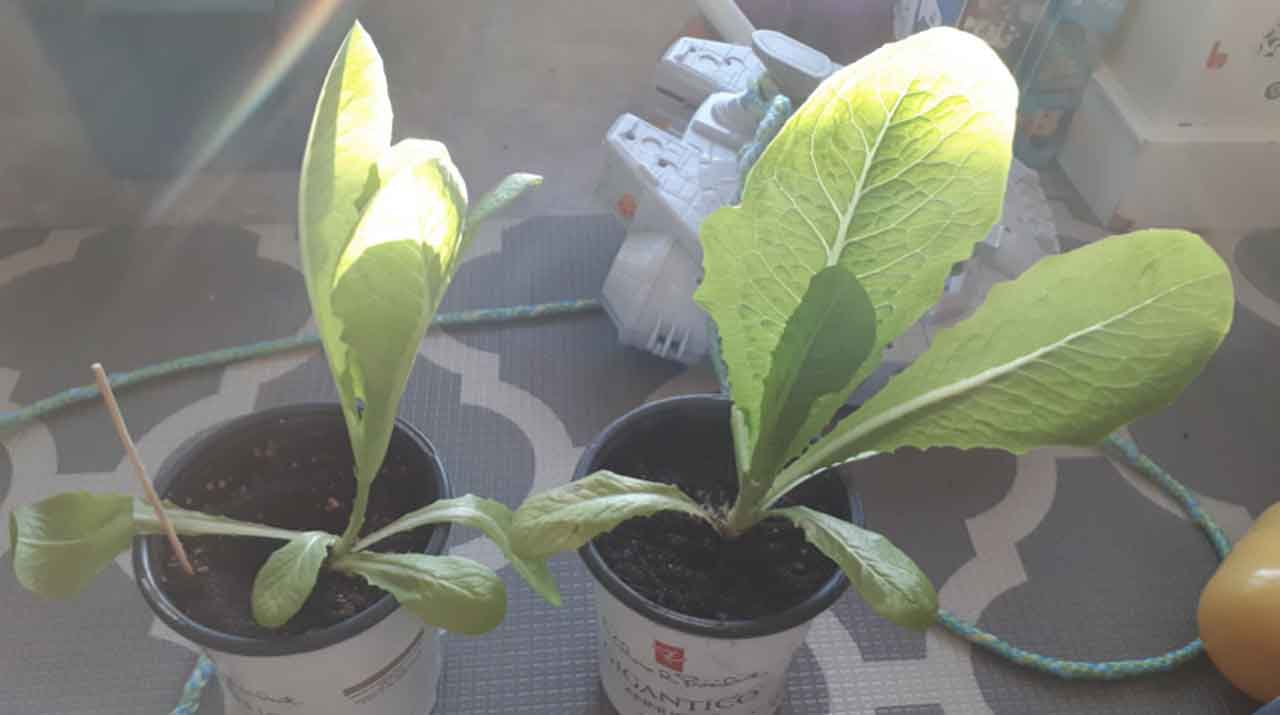
We always make our own soil. I have a picture below that shows the difference between a lettuce plant still in its “baby” food, and one that was bump into adult food 2 weeks ago. The difference is incredible! (I feel bad for the one I didn’t bump up!)
WHEN TO BUMP UP
Some of you may be asking, “What is bump up?”. Easy… moving it to a different pot (bumping up a size), and getting more nutritious soil (bumping up the food…which now you now about.) How do you know when to bump up? Well, your plants are way past their first 2 leaves and moving well past their secondary leaves and recognizable as a specific species of plant. In addition, they just look too big, and their roots are hanging out of the bottom. They also may be getting spindly, droopy, or losing their rich green color.
Here are your steps:
- Get your soil made or buy an appropriate soil. (Tip: It’s good to wet the soil first so that it is easier to water and gage how much you need. Dry soil is very dusty, and fluffy and you will likely need more as it gets wet and lowers itself into the pot.)
- Get bigger pots (we re-use from the past. Never throw pots away. They come in handy).
- If you can get sphagnum moss, it will be an asset (peat moss not the same!)
- Helpful to have trays and plastic (like a plastic milk bag, or bag without holes in it. You can totally use recycled bags).
- Put plastic between 2 trays if they are the trays with holes at the bottom to fully line the bottom and edges (It becomes a way to keep water in the tray, and a self-watering for the plants. It also if when watering you put it in the tray and not ON the plants, as the bottom moss and soil soak up the water, drawing the roots down, and not bending the little seedlings down under the weight of the water).
- Put your pots in the trays.
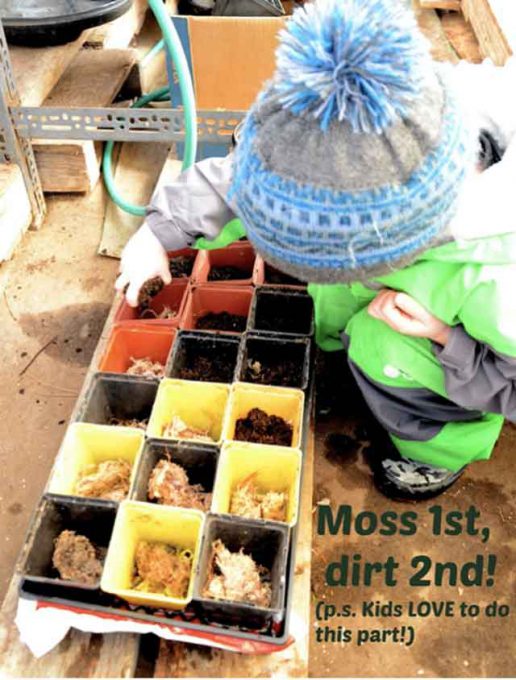
- Add ¼ inch of moss (if you have it).
- Add your soil mix or bagged soil.
- Make a hole in the center of the pot, and gently put your seedling in its new home. (You can bury the stem a little way down to add stability to the plant. Just don’t cover the leaves.)
- Put water in the bottom of the tray, and let the plants soak it up.
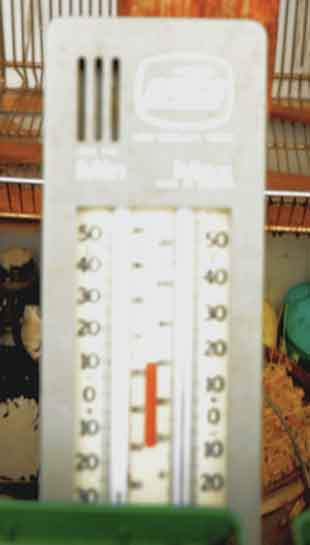
If you are planning on leaving them in a greenhouse, please be sure that you monitor the heat/cool in the greenhouse each day, twice a day. They can get very hot during the day, and if it drops below freezing, you may lose your seedlings. I have a mini-greenhouse in a greenhouse and put my plants in there if it is going to be very cold. I also open the doors or windows during the day if it is going to be too hot. Watch the temperature carefully.
I use a min/max thermometer to keep track of the temperature. I do have access to electricity as well, so I use a small heater that comes on automatically if the temperature drops too low.
You will need to water your plants every couple of days. They will drink way more than you think, especially tomatoes!
Ok! Thanks for joining me this week!
See the video attached for the same information, but with more information spattered through including info on making your own soil. If you have questions, please send me an email at shyanne.leah@gmail.com. I will happily answer as I can. You can also send an email to request to be on the mailing list for upcoming blog posts.
Next week…. I will be planning your garden or a look at using a greenhouse. If one is preferred, please send me an email, or comment below!
Happy gardening!
Shy-Anne
Links For Products:

